Painting Candy Colours Tutorial by SMS Paints
2025-01-10 17:00:00

How the effect works is that the Clear Colour itself is a transparent paint that has no solid pigmentation to it. They are coloured using tint dyes which will retain the clear transparency whilst keeping a strong, vibrant colour.
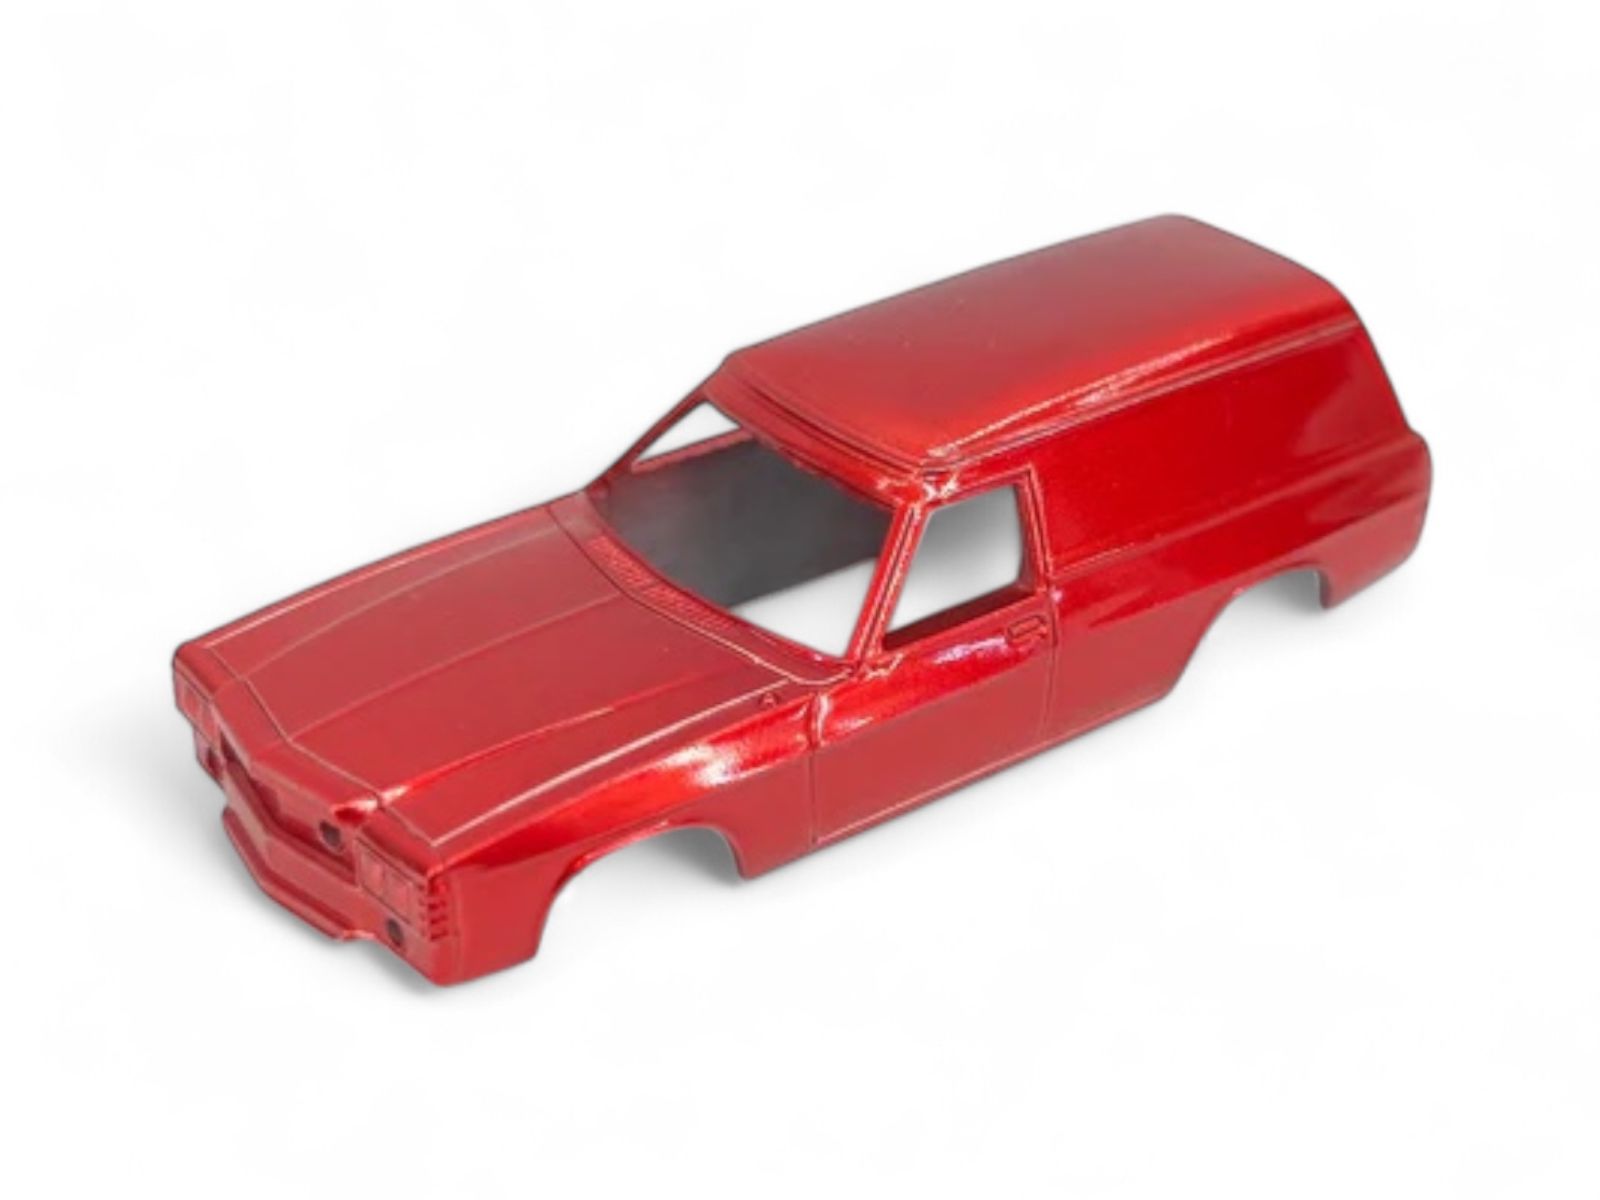
In this tutorial, I'll show how easy it is to create an effective Candy effect on a model car.
For this tutorial, we will be demonstrating the effect on a 1/64 diecast Oz Wheels Panel Van.
RECOMMENDED FOR YOU
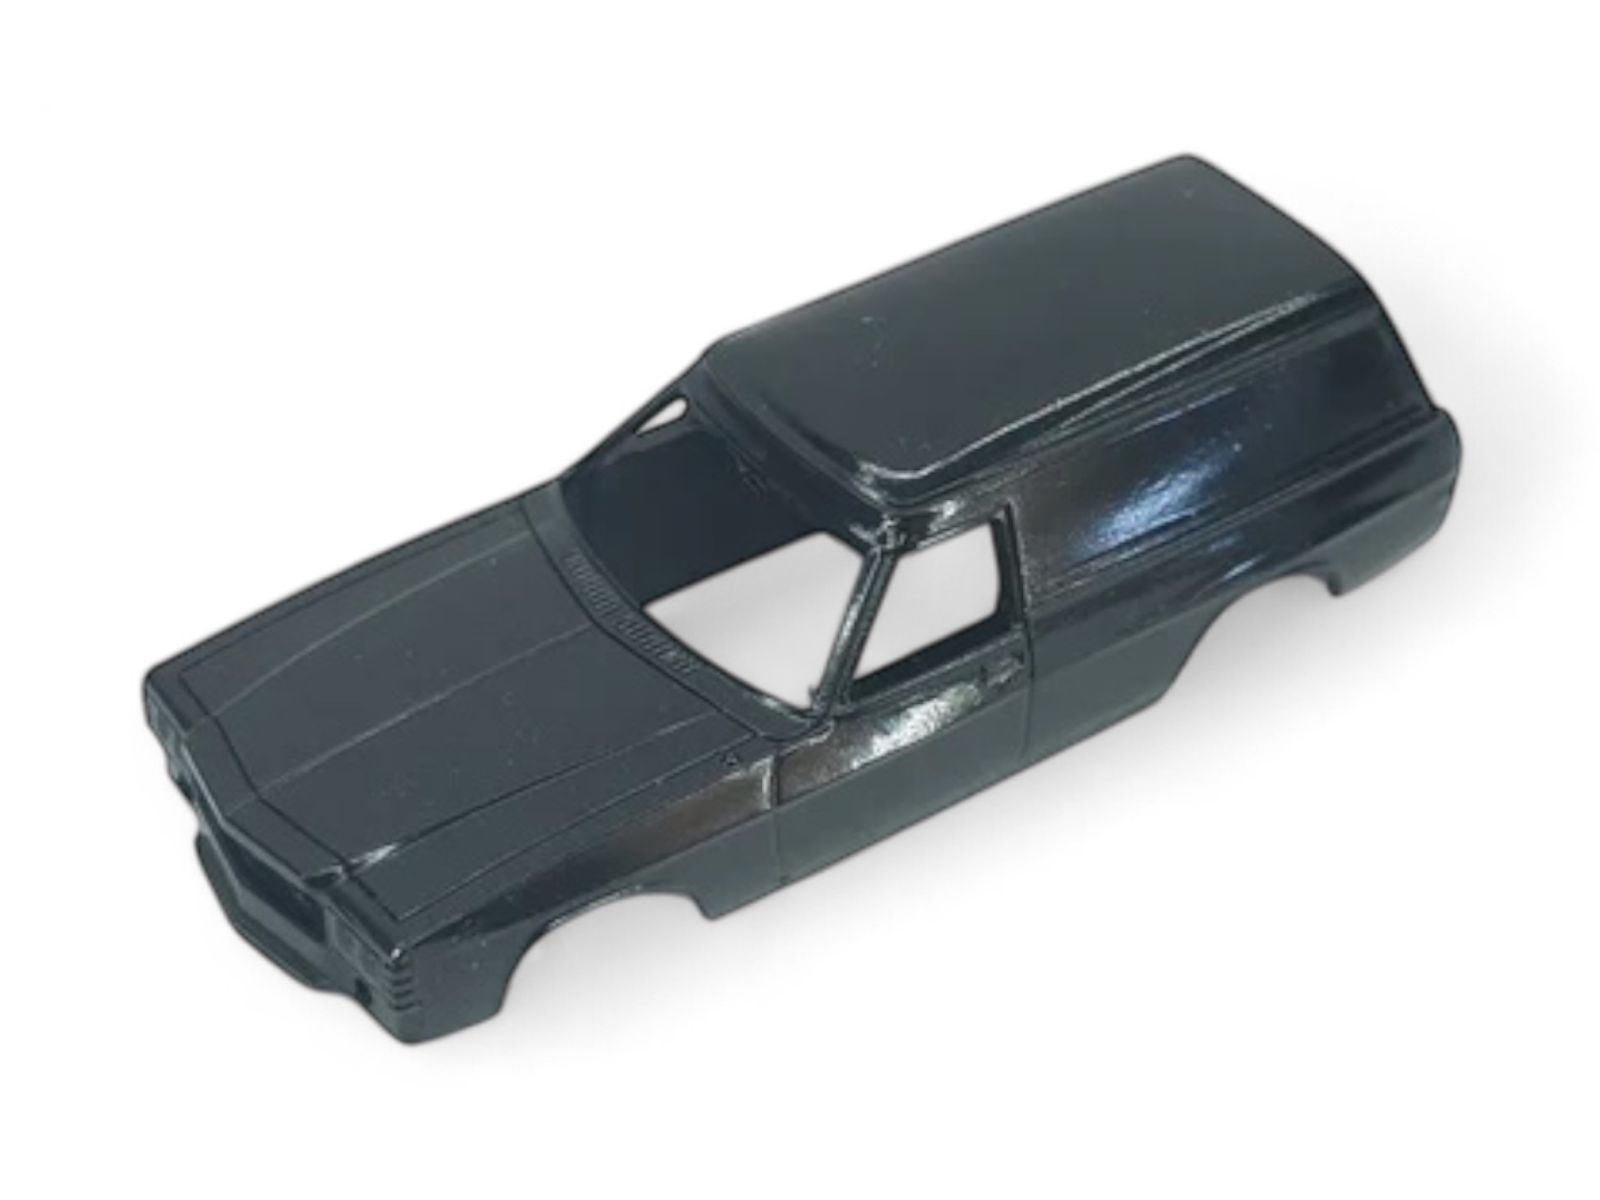
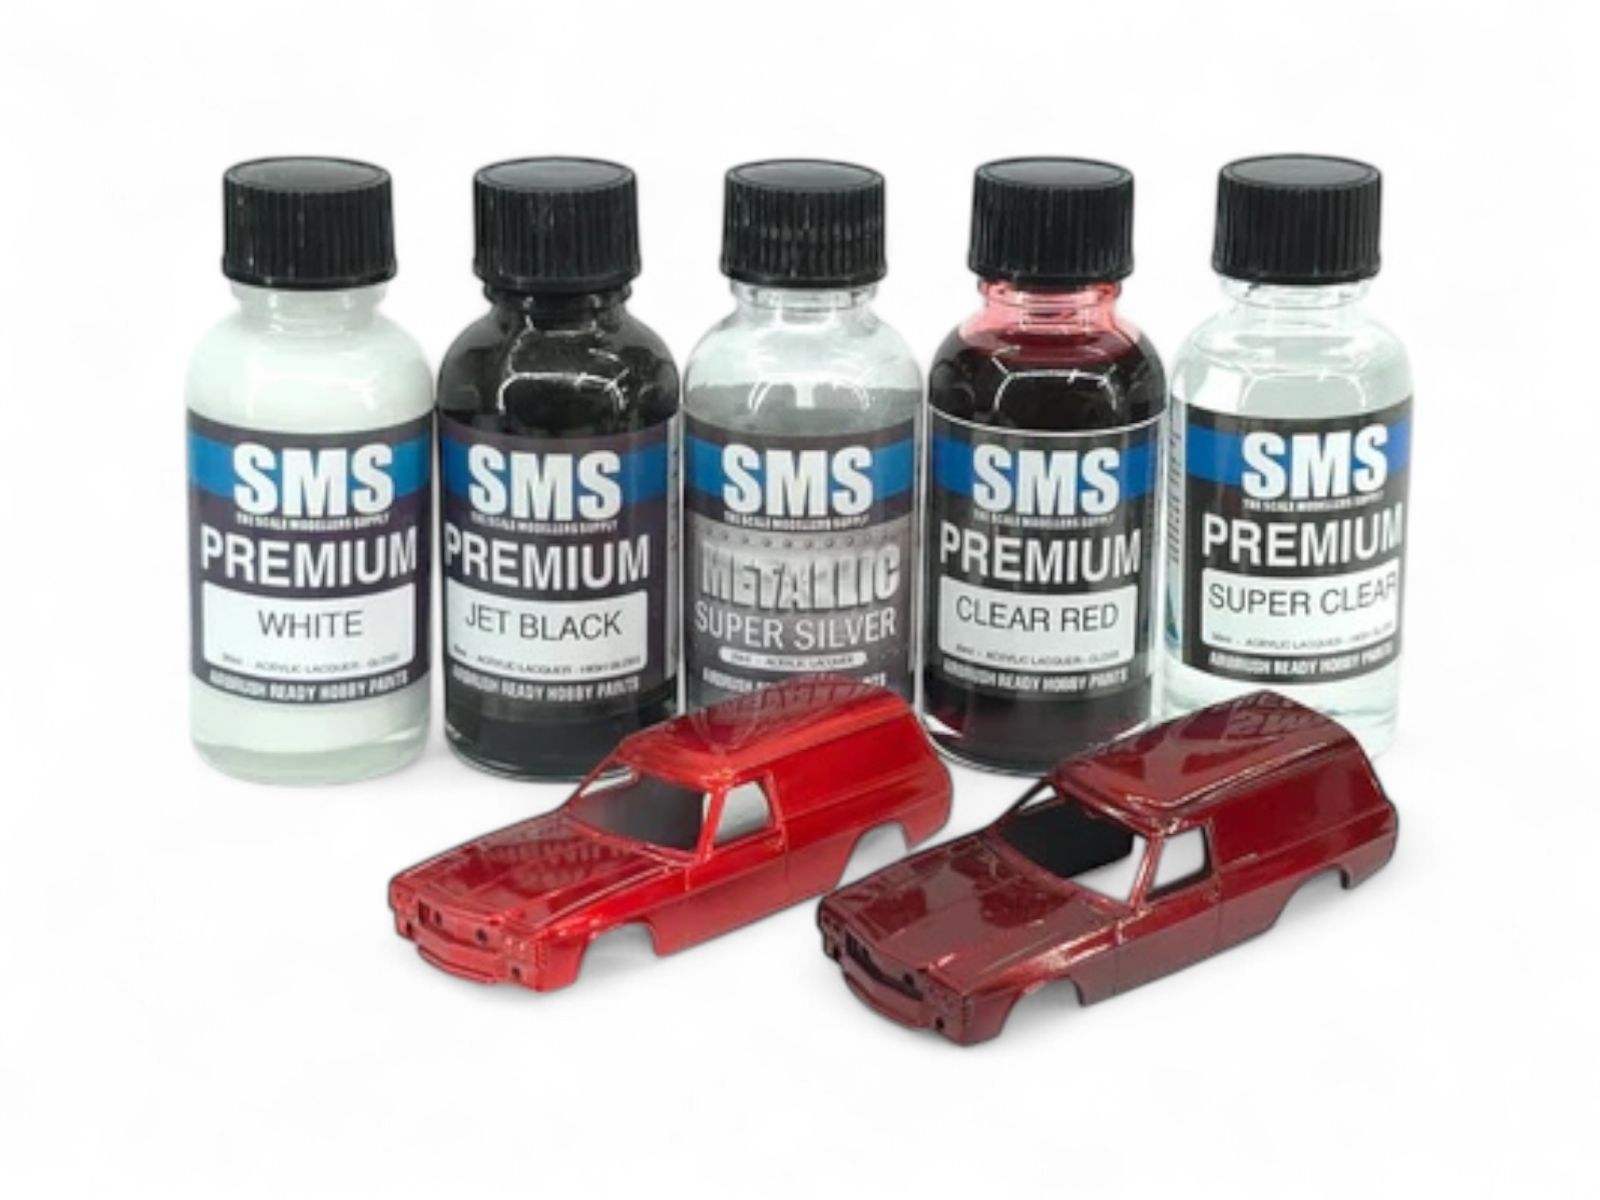
To begin with, after first priming the model, we apply a base coat of a gloss Black. In this case, I've used Chassis Black first (which is a semi gloss black) and then top coated that with Super Clear to obtain a high gloss finish.
High gloss is the best sheen to have on this layer as it will help get the most reflectivity out of the silver that we will apply next. You can also do this using Jet Black.
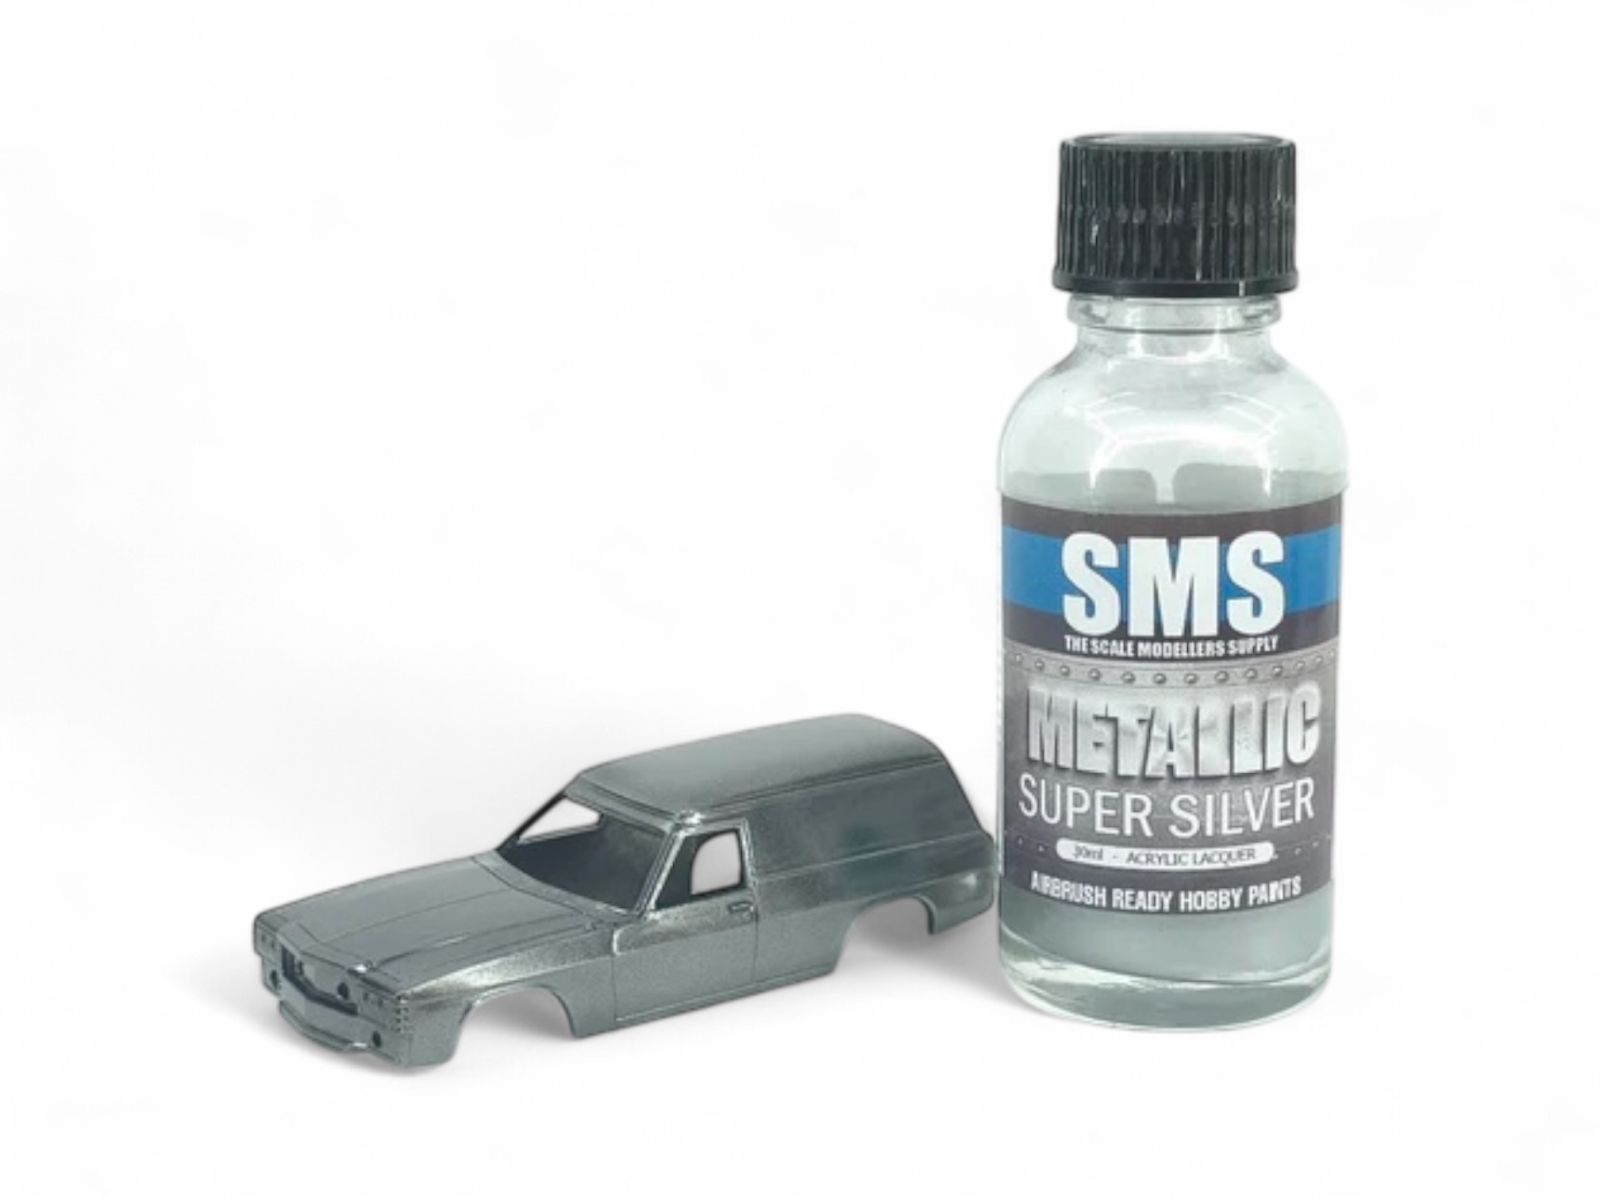
Next up is Super Silver. This is lightly applied on the model, paying attention to the reflectivity levels as I go. You just want to apply enough that you can see yourself in the reflection. One coat too far, and it will dull off and just become a bright silver rather than a reflective finish.
With that applied, let it dry and cure for a few hours before applying the Clear Colour. If you apply the Clear Colour too soon, then there is a high chance that the Clear Colour will leach down into the silver, reactivate it and cause it all to marble together into a mess.
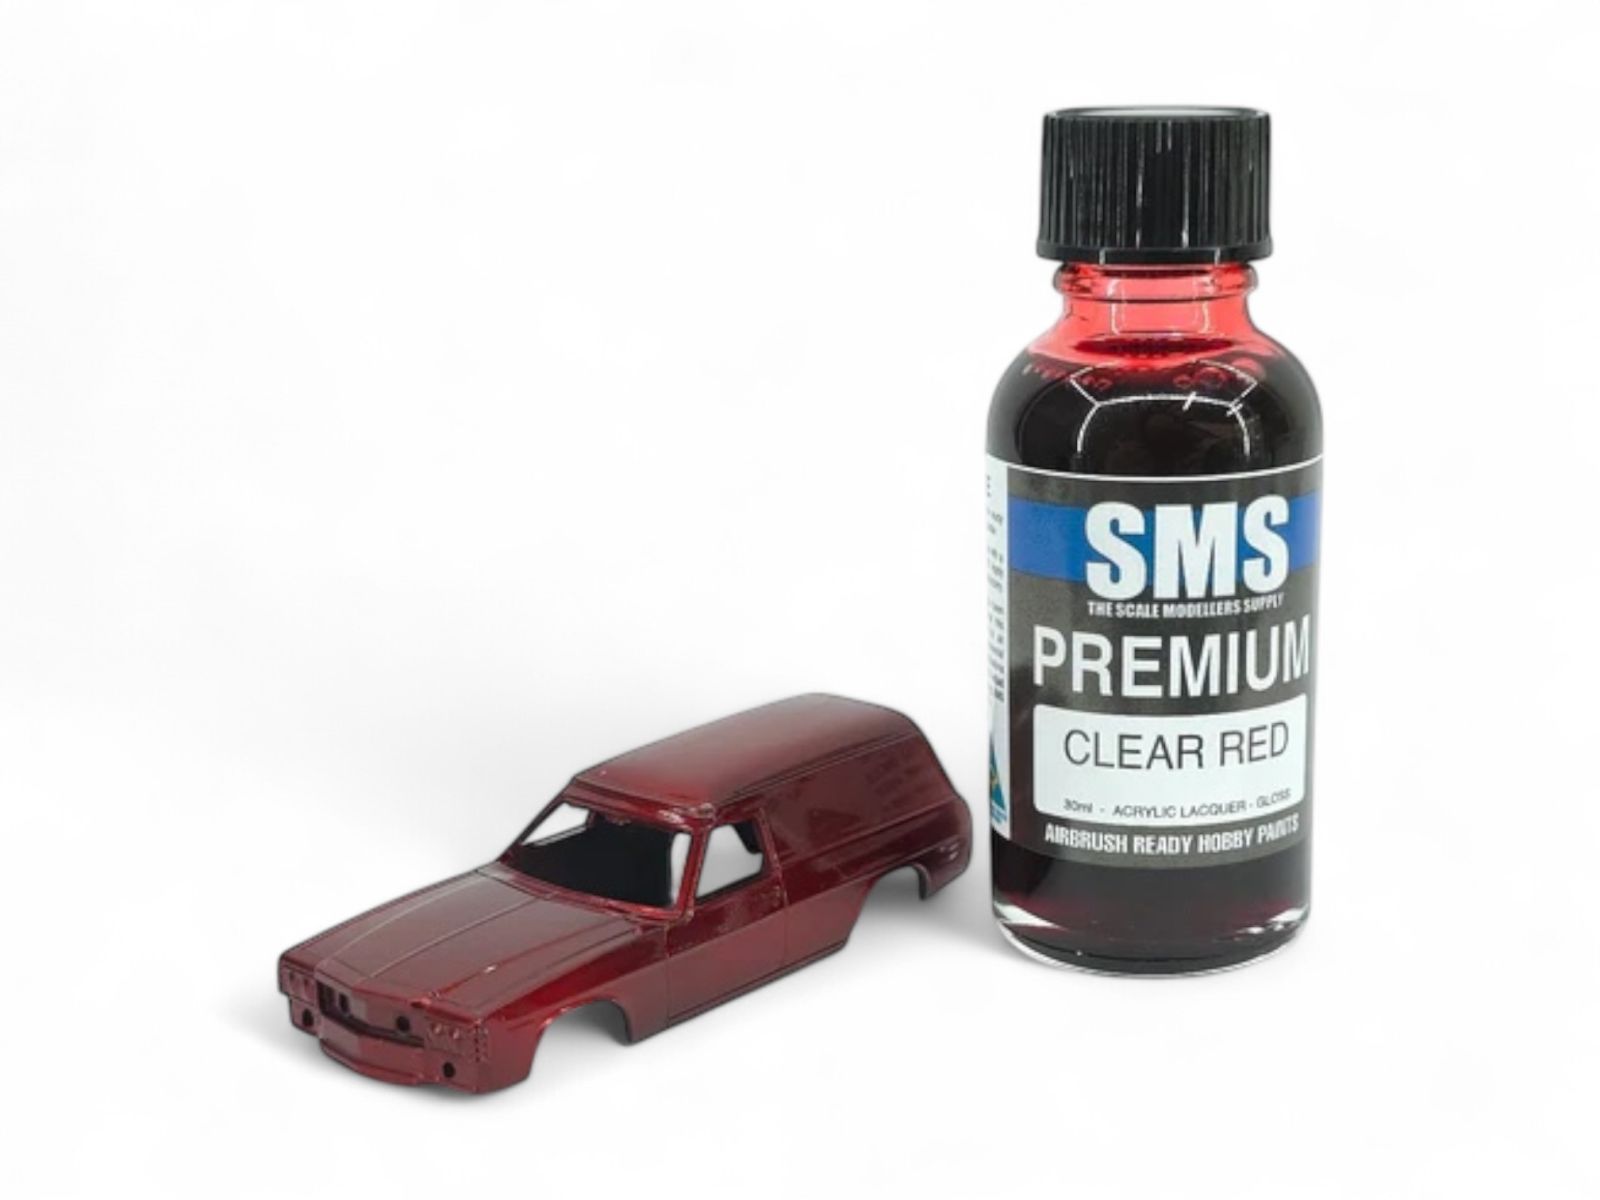
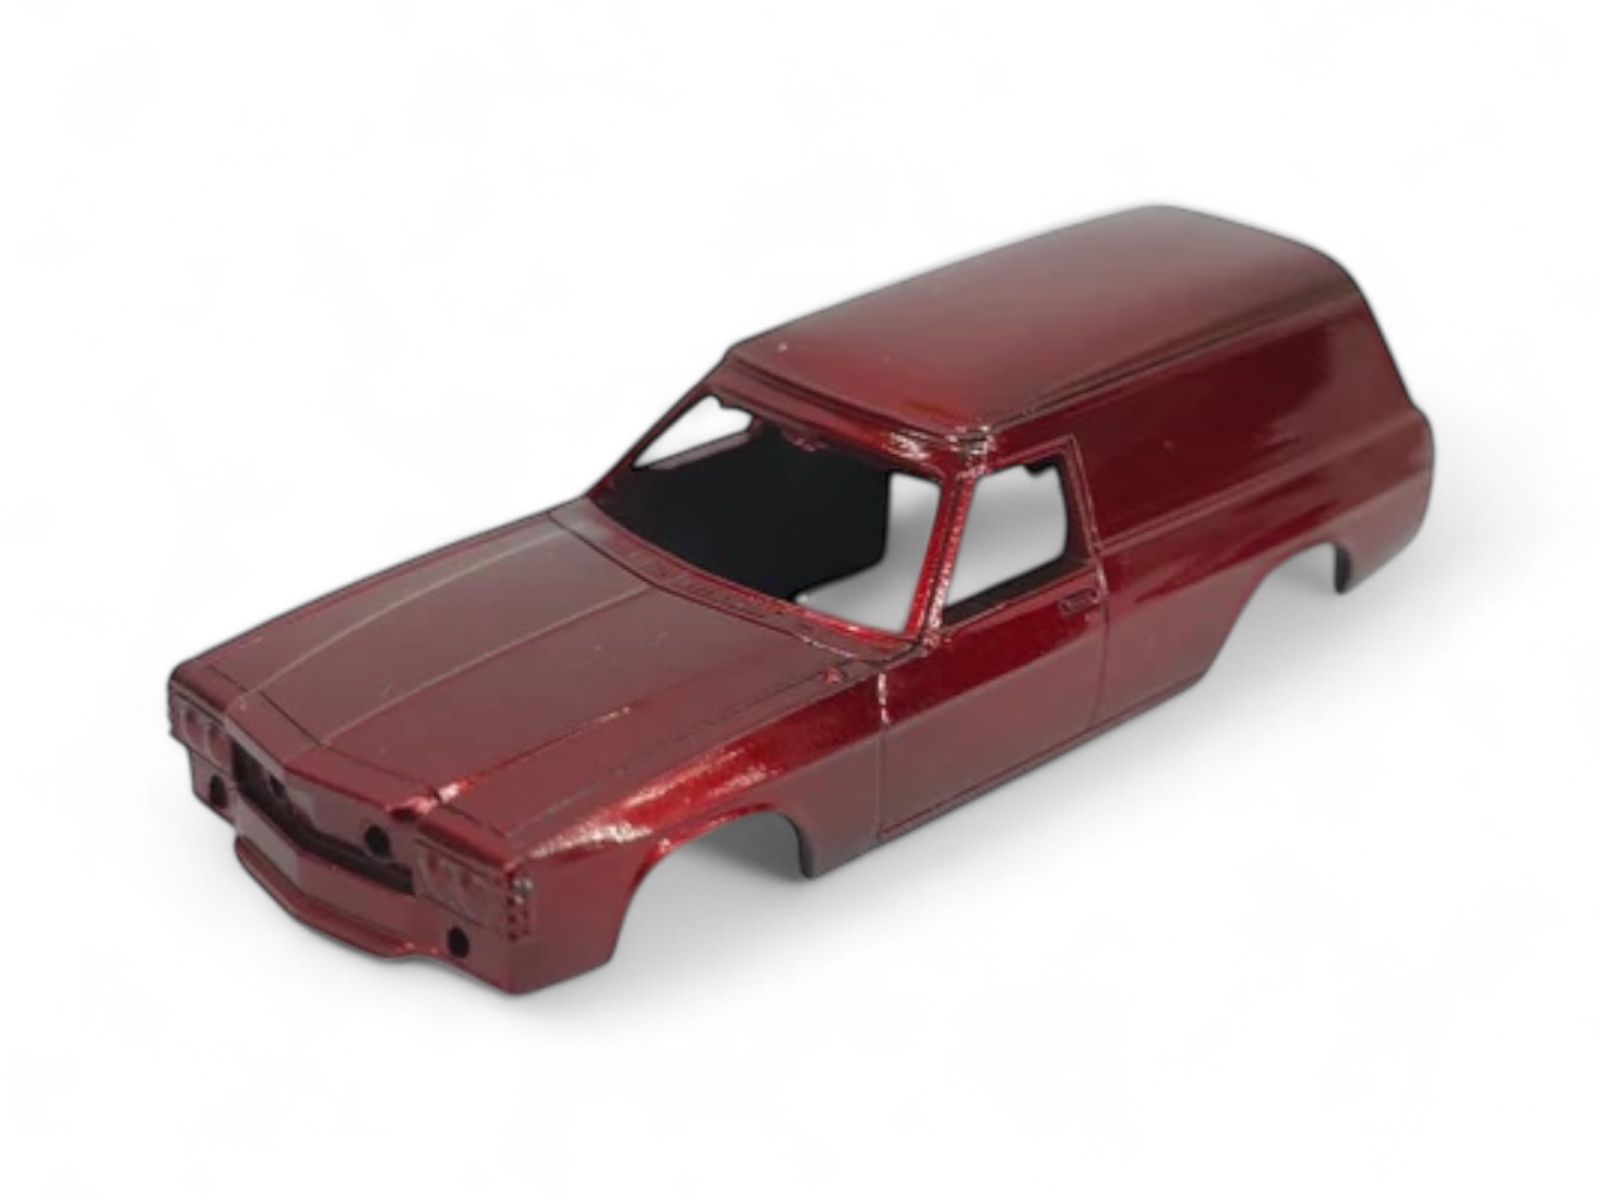
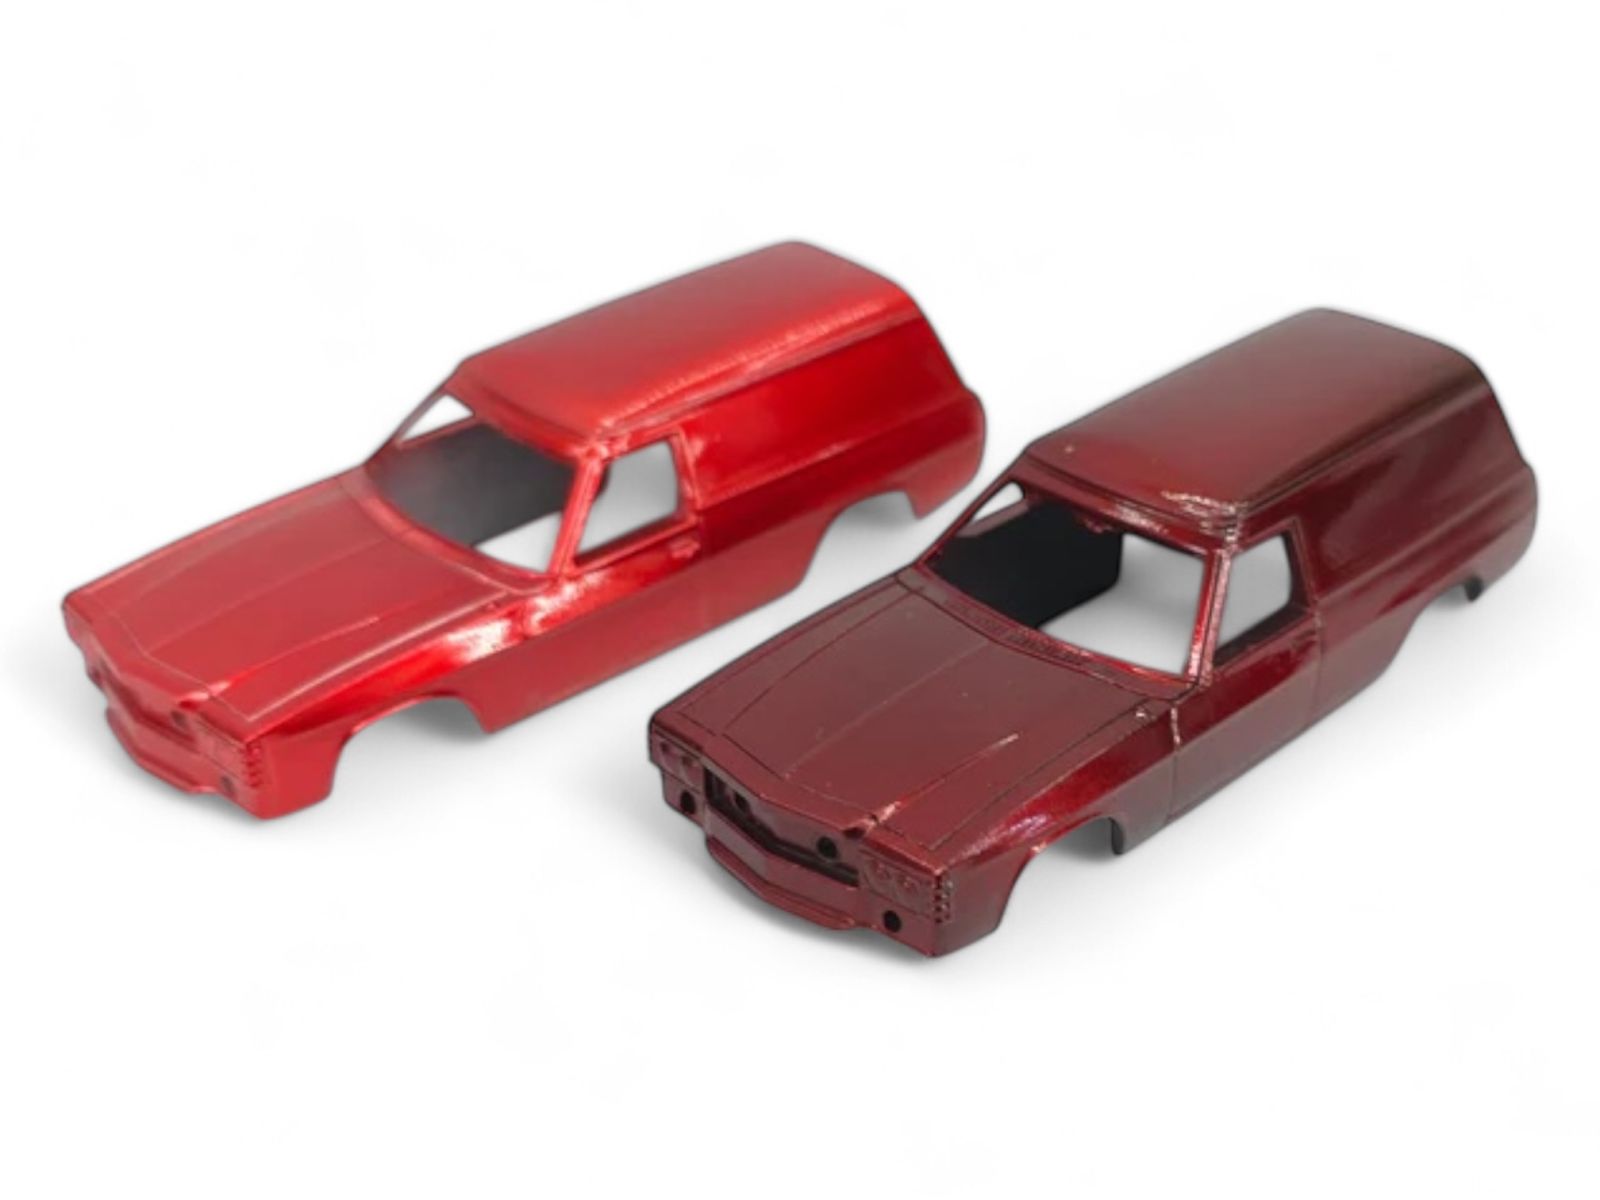
Once it has dried, then you can start to apply the Clear Colour, in this case I am using Clear Red. When applying it, make sure to apply in light coats and build it up over a few coats. The first coat will barely have any colour to it, but as you apply the next and next coats, the colour will deepen.
Changing the base colour will also result in some strikingly different finishes to the Candy Colour as well. Something as simple as changing to a gloss White base coat under the Super Silver, will result in a much brighter and more vibrant red in comparison to how it looks over Black.
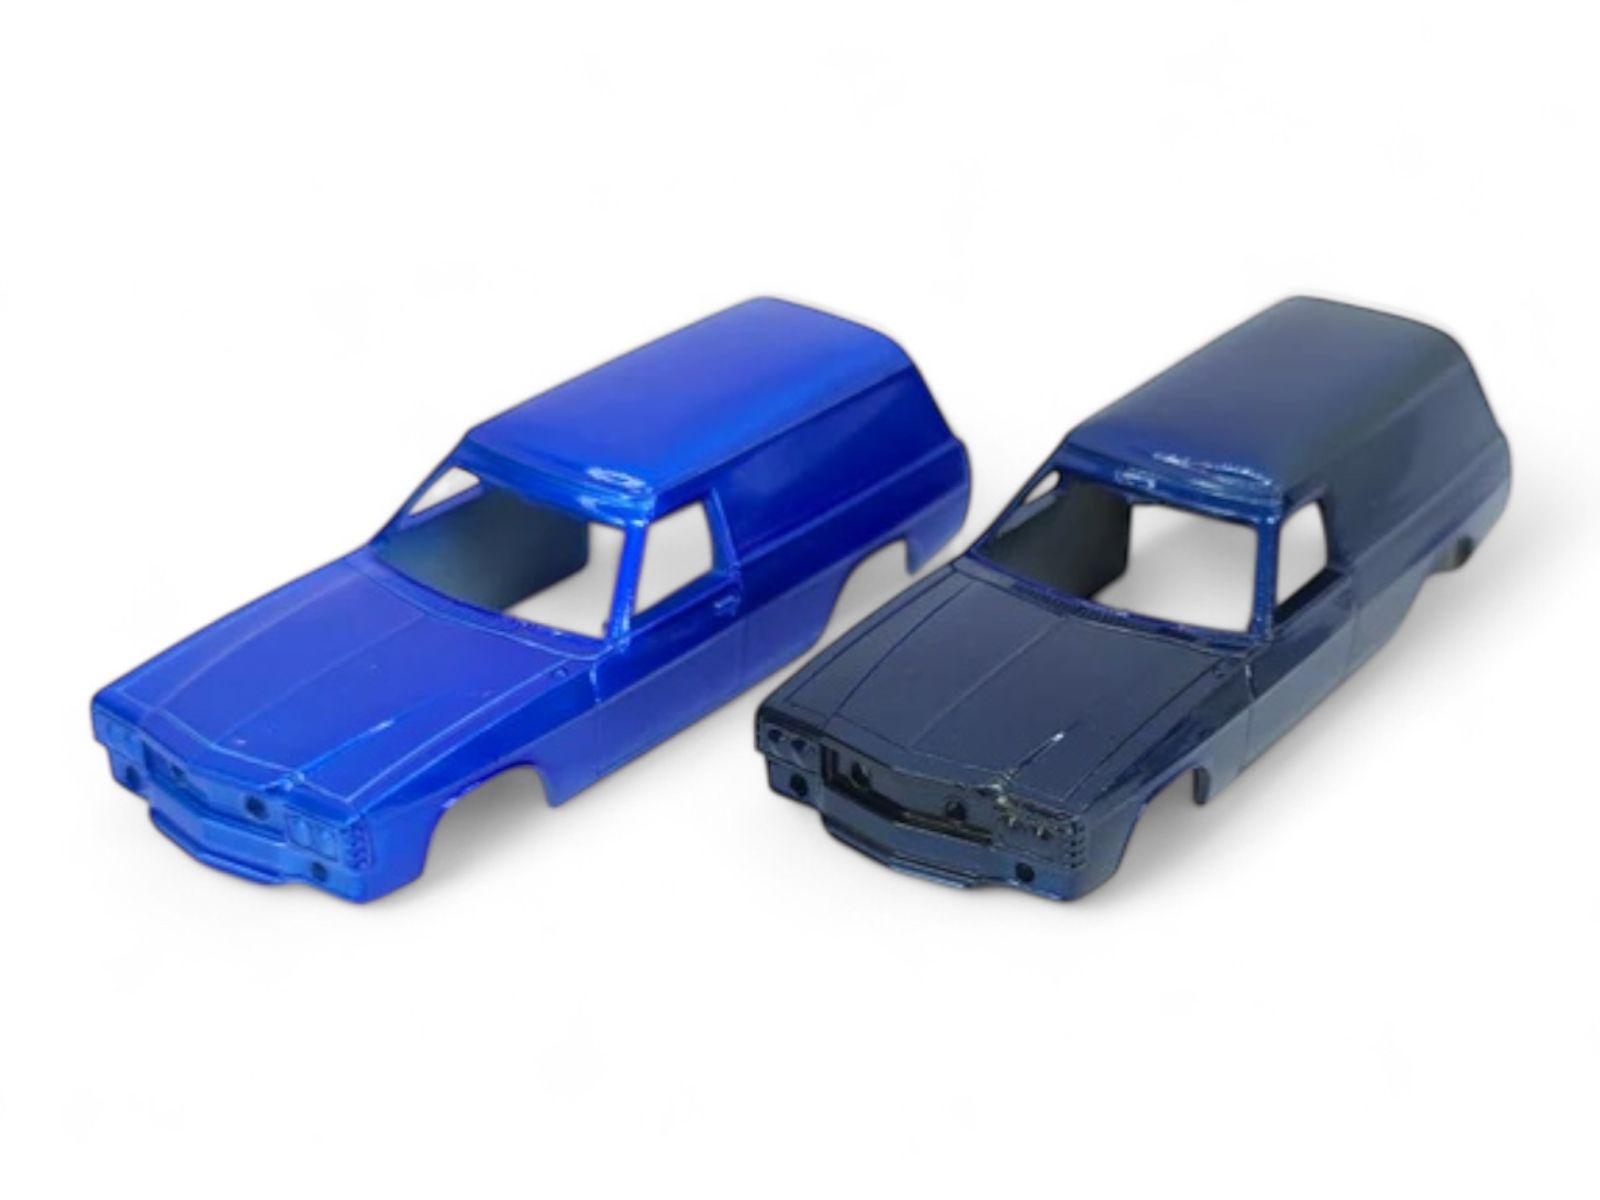
Here's another example of changing the base colour from Black to White, this time with Clear Blue as the main colour for the Candy effect.
Once that is all done, then you can give the colour even more depth by adding a few coats of Super Clear over the top to bring the sheen levels right up.
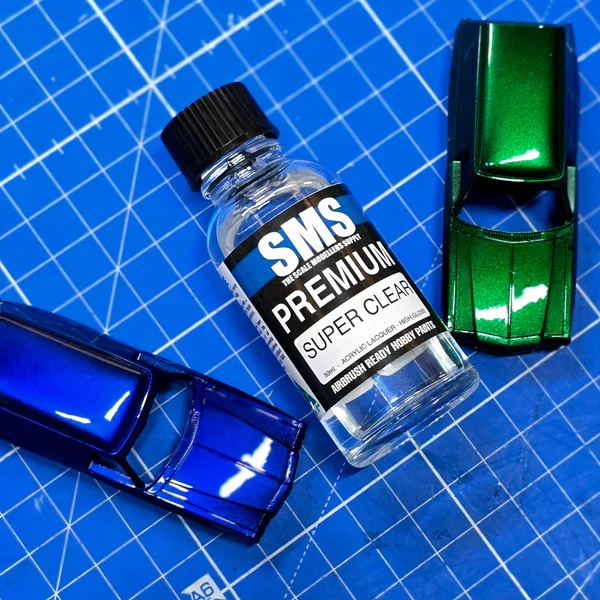
You can also change the overall look of the Candy effect by mixing or layering the Clear Colours together. You can create many different shades that way. For example, start off with Clear Yellow and then apply Clear Green over the top for a more yellow toned Candy Green. Or start with Clear Yellow and then layer Clear Orange and Clear Brown to create different shades of Candy Gold.
And that's it! That's how easy it is to create Candy effects on your model - experiment with different colour combinations and see what you can come up with!
And remember as always, keep on modelling!
Scott Taylor
The Scale Modellers Supply


